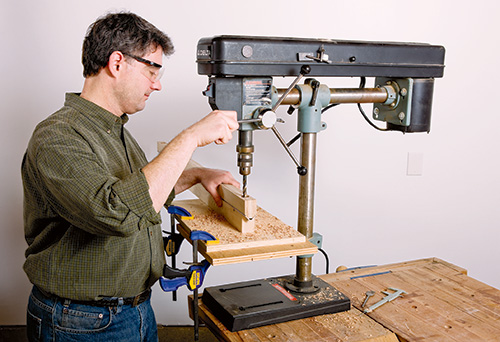
Are you an avid DIY enthusiast looking to perfect your drilling skills? Well, look no further because this article is here to help you master the art of drilling techniques with a drill press. Whether you’re a beginner or a seasoned DIY guru, this blog is packed with useful content that will give you the necessary context and knowledge to effectively utilize a drill press. From understanding the different types of drills to learning about drilling techniques for various materials, this article has got you covered. So, grab your drill press and get ready to take your DIY projects to the next level!
Drilling Techniques With A Drill Press
If you are a passionate DIY enthusiast or simply someone who loves working with wood, metal, or other materials, having a drill press in your workshop can make a world of difference. A drill press is a versatile tool that can be used for a wide range of drilling applications. In this article, we will guide you through the process of setting up your drill press, explore basic and advanced drilling techniques, discuss important safety precautions, troubleshoot common drilling issues, enhance accuracy and precision, provide tips for drilling different materials, and even highlight alternative uses of a drill press. So, let’s get started!
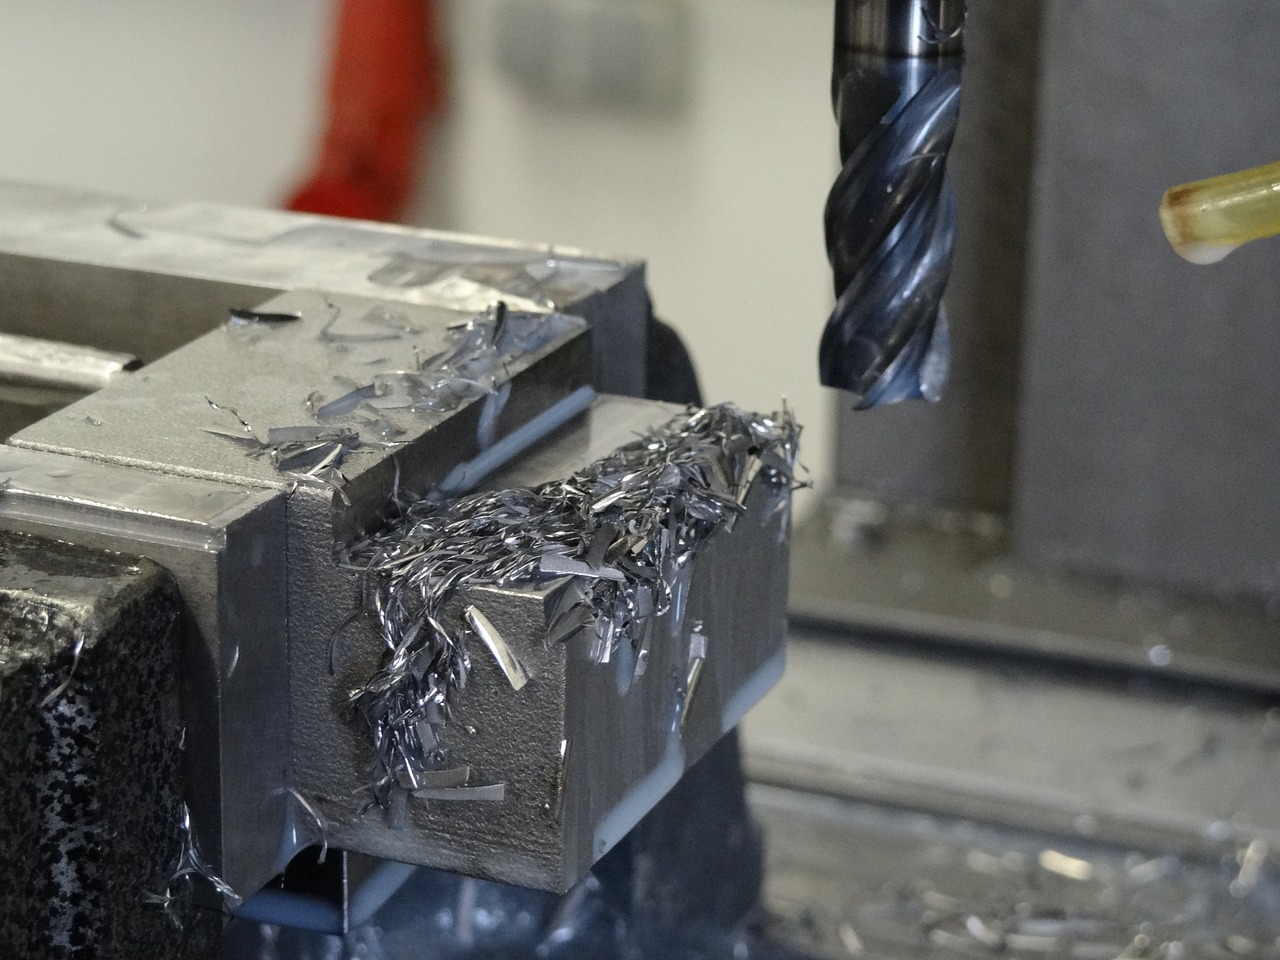
This image is property of pixabay.com.
1. Setting up the drill press
Choosing the right drill bit
Choosing the right drill bit is crucial for achieving optimal results. Consider the material you will be drilling into and select a compatible drill bit. For wood, a standard twist drill bit will suffice, while a high-speed steel (HSS) bit is more suitable for metal. For specialized materials like glass or ceramic, diamond-tipped or carbide bits are recommended. Ensure that the diameter of the chosen drill bit matches the hole diameter you desire.
Adjusting the speed
Different materials require different drilling speeds to prevent overheating, bit breakage, or poor results. Set the drill press to the appropriate speed based on the material you are drilling. Lower speeds are usually recommended for metal, while higher speeds work well for wood. Consult the manufacturer’s guidelines or drilling charts to determine the ideal speed settings for your specific needs.
Securing the workpiece
Before drilling, it is important to secure the workpiece firmly in place to prevent shifting or movement during the drilling process. Use clamps or a drill press vise to securely hold the workpiece in position. This ensures both your safety and the accuracy of your drilling.
2. Basic drilling techniques
Standard drill
The standard drill technique is the most commonly used method for drilling holes. Simply align the center of the drill bit with the desired drilling location on your workpiece and lower the drill press spindle until the bit makes contact. Start the drill press and apply consistent downward pressure to drive the drill bit through the material.
Counterbore drilling
Counterbore drilling involves creating a flat-bottomed hole with an enlarged opening at the top. This technique is often used when a screw or bolt head needs to be recessed into the material. Begin by using a suitable counterbore drill bit. Align the center of the bit with the drilling location, and follow the standard drill technique. Once the desired depth is achieved, switch to a regular twist drill bit to create the through-hole.
Countersink drilling
Countersink drilling is similar to counterbore drilling but is used when the screw or bolt head needs to be flush with or slightly below the surface of the material. Begin by using a countersink drill bit, which has an angled cutting edge. Align the center of the bit with the drilling location and follow the standard drill technique. Control the depth carefully to achieve the desired counterbore shape.
Spot drilling
Spot drilling is the process of creating a small dimple or pilot hole at the drilling location to guide the drill bit. This technique is especially useful when drilling into hard or slippery materials. Use a spotting drill bit, which has a short, rigid body and a precise point, to create the pilot hole. Center the drill bit on the location and gently apply pressure to create the dimple. Once the dimple is made, switch to the appropriate drill bit size and continue with the standard drill technique.
Tap drilling
Tap drilling is used when creating threaded holes for screws or bolts. Select the appropriate tap drill bit based on the desired thread size. Follow the standard drill technique to create the correct size pilot hole for tapping. Once the pilot hole is complete, switch to a tap and carefully thread it into the hole using a tapping wrench. Remember to use cutting fluid to lubricate the tap and ensure smooth threading.
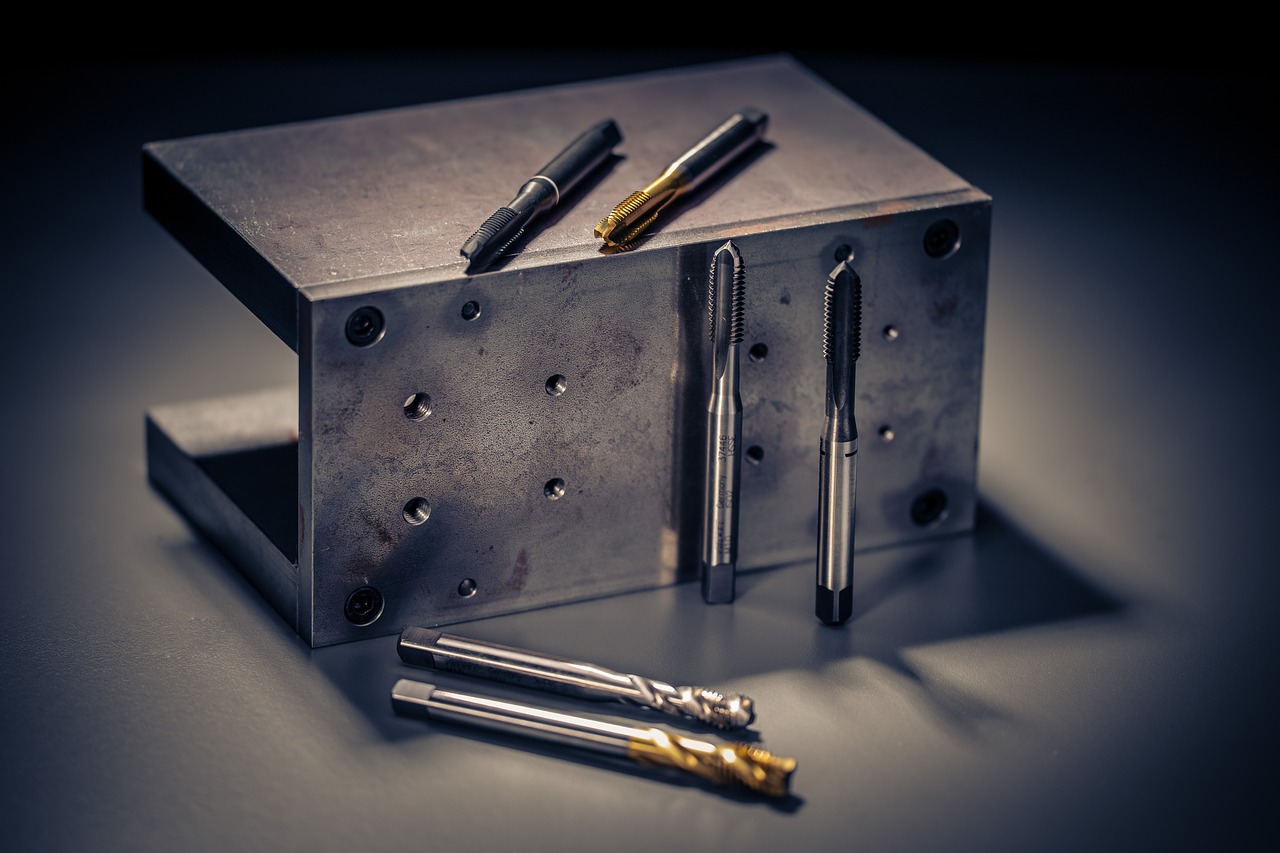
This image is property of pixabay.com.
3. Advanced drilling techniques
Drilling angled holes
Sometimes, you may need to drill angled holes for various woodworking or metalworking projects. To accomplish this, you can use an adjustable angle jig with your drill press. Secure the jig to the drill press table and adjust it to the desired angle. Then, follow the standard drill technique to drill the hole while keeping the workpiece stationary.
Drilling angled holes through cylinders
Drilling angled holes through cylinders requires a specialized jig called a drill press cylinder vise. This vise allows you to secure the cylindrical workpiece at the desired angle for drilling. Adjust the vise according to the required angle, secure the workpiece, and carefully follow the standard drill technique.
Drilling pocket holes
Pocket holes are commonly used in woodworking to join pieces of wood together. To drill pocket holes, use a pocket hole jig attachment on your drill press. Set the desired thickness and angle on the jig, secure the workpiece, and follow the standard drill technique. This method ensures accurate and strong pocket holes.
Drilling dowel holes
Dowel holes are often used for alignment and joining purposes. To drill dowel holes, use a doweling jig with your drill press. Adjust the jig to the desired hole spacing and depth, secure the workpiece, and follow the standard drill technique. This will result in precisely positioned dowel holes.
Drilling stopped holes
A stopped hole is a hole that does not penetrate through the material completely. This technique is useful when you want to create a recess or cavity without drilling through the entire workpiece. To drill stopped holes, set the depth stop on your drill press to the desired depth. Align the drill bit with the drilling location, and follow the standard drill technique while ensuring the predetermined depth is not surpassed.
4. Safety precautions
Wearing safety goggles
When operating a drill press, it is essential to protect your eyes from flying debris. Always wear safety goggles or a face shield to shield your eyes from potential hazards.
Using a drill press vise
A drill press vise is a valuable accessory that helps secure the workpiece firmly in place while drilling. It provides stability and reduces the risk of the workpiece spinning or shifting unexpectedly.
Avoiding loose clothing and jewelry
Ensure that you wear appropriate clothing while operating a drill press. Loose clothing or accessories like jewelry can get caught in the machinery and pose a significant safety risk. Remove any loose items that could interfere with the drilling process.
Securing long workpieces
Long workpieces can be challenging to control during drilling. To ensure safety, use supportive stands or additional clamps to secure the extended portion of the workpiece. This prevents it from sagging or becoming unstable while drilling.
Keeping the drill press clean and well-maintained
Regularly clean your drill press to remove dust, debris, and accumulated grease. Lubricate the moving parts as recommended by the manufacturer. Performing routine maintenance ensures optimal performance and reduces the risk of accidents.
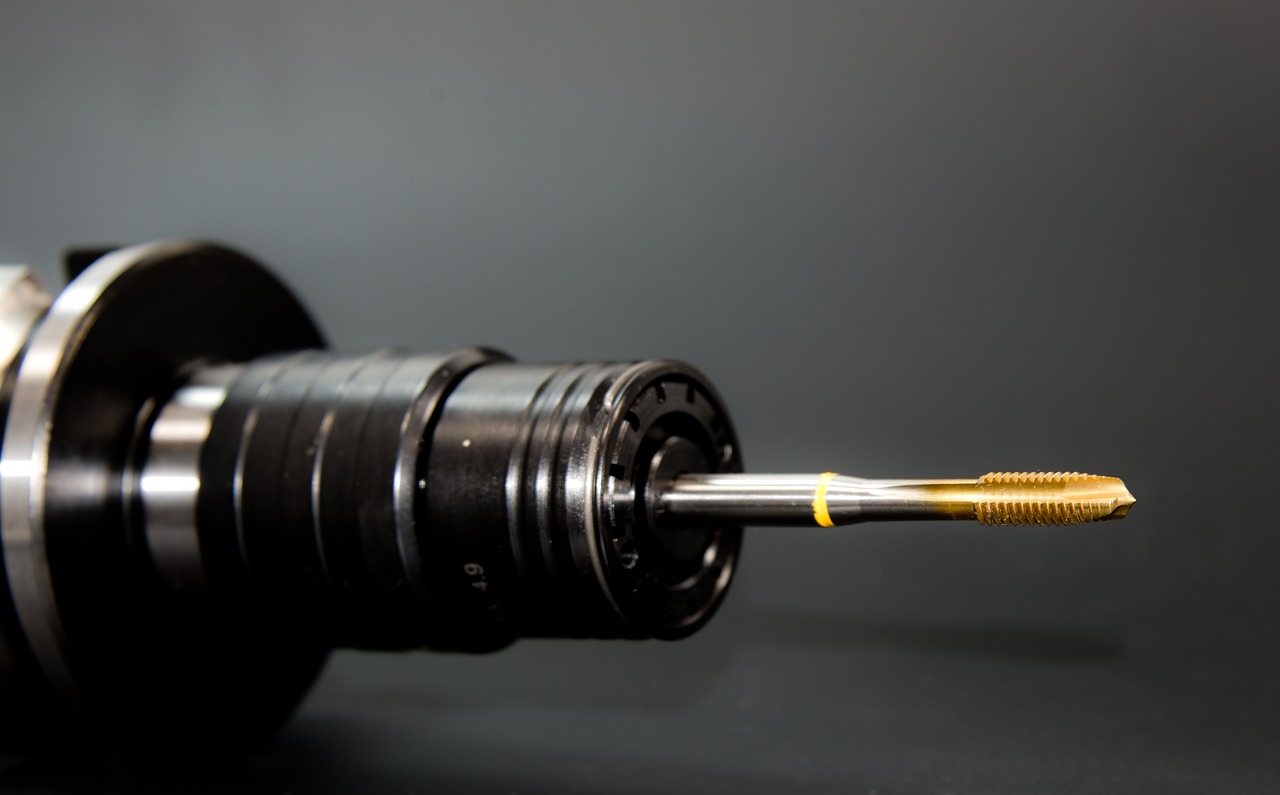
This image is property of pixabay.com.
5. Troubleshooting common drilling issues
Drill bit breakage
Drill bit breakage can occur if excessive force is applied or if the drill bit is dull or damaged. To prevent breakage, make sure the drill press is set at the appropriate speed for the material you are drilling. Use sharp drill bits and apply steady, consistent pressure during drilling.
Drill bit wandering
Drill bit wandering refers to the bit moving off the intended drilling location. This can happen if the drill bit is not centered properly or if the workpiece is not securely clamped. Take your time to align the drill bit accurately and ensure the workpiece is securely held in place before drilling.
Drill bit overheating
Drill bit overheating can occur when drilling through hard materials or when using a high-speed setting on the drill press. To prevent overheating, use cutting fluid to lubricate the drill bit and the material being drilled. This cools the bit and prolongs its life.
Drill bit jamming
Drill bit jamming can happen if the drill bit encounters resistance or becomes stuck in the material. For smoother drilling, use a slower speed, and apply consistent pressure without forcing the bit. Clear any chips or debris that may accumulate in the hole or around the bit.
Workpiece tear-out
Tear-out refers to the material chipping or splintering during drilling. To minimize tear-out, use sharp drill bits and a slow speed when drilling into delicate materials like wood or plastic. Additionally, place a sacrificial backing behind the workpiece to support the material and prevent tear-out.
6. Enhancing accuracy and precision
Using a center punch
Using a center punch helps create a starting point for drilling, ensuring accurate hole placement. Before drilling, mark the drilling location, and use a center punch to create a small indentation. This provides a guide for the drill bit’s initial penetration and helps prevent drifting.
Using a pilot hole
For drilling larger diameter holes, it is often beneficial to start with a pilot hole. A pilot hole is a smaller diameter hole that guides the larger drill bit. It helps maintain accuracy, prevents wandering, and reduces the likelihood of the wood splitting or the metal warping.
Using a brad point bit
A brad point bit is a type of drill bit that features a sharp, pointed tip and fluted cutting edges. This design allows for precise and clean drilling in wood, minimizing tear-out. When accuracy is crucial, a brad point bit is an excellent choice.
Using a depth stop
A depth stop is a device that limits the depth of the drilled hole. It can be attached to your drill press to ensure consistent drilling depths across multiple holes or when drilling through delicate materials. By setting the desired drilling depth, you can prevent over-drilling and maintain accuracy.
Using accessories like a fence or guide
Accessories like a fence or guide can enhance accuracy and precision when drilling repetitive holes or maintaining a consistent distance from the edge of the workpiece. These attachments help ensure uniformity and minimize human error.
7. Tips for drilling different materials
Wood
When drilling into wood, use standard twist drill bits. Set the drill press to a high speed for efficient drilling. Applying moderate pressure and using a depth stop will help prevent the wood from splintering or tearing. Using a brad point bit or a forstner bit provides cleaner and more precise results.
Metal
For drilling into metal, use high-speed steel (HSS) drill bits. Set the drill press to a slower speed to prevent overheating and ensure smooth drilling. Use cutting fluid as a lubricant to prolong the life of the drill bit and maintain accuracy. Gradually increase the speed when drilling through thicker metal.
Plastic
Drilling into plastic requires care to prevent melting or chipping. Use low cutting speeds and sharp drill bits specifically designed for plastic. Applying light pressure and using a backup block helps mitigate any potential damage. Be sure to remove any burrs or sharp edges after drilling.
Ceramic and glass
Drilling into ceramic or glass requires specialized drill bits with diamond or carbide tips. These bits are designed to withstand the hardness of these materials. Use a slow drilling speed and apply minimal pressure to avoid cracking or shattering. Keep the surface lubricated with water or cutting oil to dissipate heat and prevent damage.
Composite materials
Composite materials, such as fiberglass or carbon fiber, can be challenging to drill due to their layered structure. Use sharp drill bits specifically designed for composite materials. Set the drill press to a medium speed and apply steady pressure. Using a backing block helps prevent delamination and ensures clean holes.
8. Alternative uses of a drill press
Sanding
With the right attachments, a drill press can be used for sanding tasks. Attach a sanding drum or sanding sleeve to the drill press spindle and secure the workpiece. Adjust the speed to a low setting and sand the material evenly. This method is particularly useful for sanding curved or irregular surfaces.
Polishing
Similar to sanding, a drill press with polishing attachments can be used to achieve a high-gloss finish on a variety of materials. Attach a polishing wheel or buffing pad to the drill press spindle and apply the appropriate polishing compound. Adjust the speed to a moderate setting and gently move the workpiece against the rotating pad.
Buffing
Buffing with a drill press is ideal for achieving a smooth and shiny surface on metals or other materials. Attach a buffing wheel to the drill press spindle and apply a buffing compound. Adjust the speed to a moderate setting and slowly move the workpiece against the rotating wheel. Regularly clean and replace the buffing wheel as needed.
Mortising
A drill press can also be used for mortising, which involves creating square or rectangular holes in wood. Attach a mortising attachment or a hollow chisel mortiser to the drill press. Set the desired depth and guide the workpiece against the chisel, creating a clean and precise mortise.
Grinding
With the appropriate grinding attachments, a drill press can be used for precision grinding tasks. Attach a grinding wheel, honing wheel, or wire brush to the drill press spindle. Adjust the speed to a suitable setting and carefully grind the material. Ensure proper safety measures are taken, such as wearing protective goggles and gloves.
9. Maintaining and troubleshooting the drill press
Cleaning and lubricating
Regular cleaning and lubrication are essential for maintaining the performance and longevity of your drill press. Clean the table, chuck, and other components with a soft cloth or brush to remove dust and debris. Lubricate moving parts according to the manufacturer’s instructions, using appropriate lubricants.
Checking belt tension
A loose or worn-out drive belt can affect the drill press’s performance and accuracy. Periodically check the tension of the drive belt and adjust or replace it if necessary. Consult the manufacturer’s guidelines for the appropriate tensioning procedure.
Replacing worn-out parts
Over time, certain parts of your drill press may wear out or become damaged. Inspect your drill press regularly, and replace any worn-out parts, such as belt pulleys, bearings, or spindle components, as needed. Ensure you use compatible replacement parts to maintain optimal functionality.
Calibrating the depth gauge
The depth gauge on your drill press ensures accurate and consistent drilling depths. Periodically check the calibration of the depth gauge and make any necessary adjustments. This will help you achieve precise drilling depths and reliable results.
Fixing common operational issues
If you encounter operational issues with your drill press, such as motor malfunctions or abnormal noises, refer to the manufacturer’s troubleshooting guide or consult a professional. Attempting to fix complex issues without proper knowledge or experience can lead to further damage or personal injury.
10. Recommended drill press accessories
Drill press vise
A drill press vise is an indispensable accessory for securing workpieces during drilling. Look for a vise that suits your workpiece size and type. A quality drill press vise provides stability, improves safety, and enhances drilling accuracy.
Drill press table
A drill press table expands the work surface and provides additional support for larger or irregularly shaped workpieces. Choose a table with adjustable features and built-in fences or clamps for added versatility.
Drill bit set
Investing in a high-quality drill bit set ensures you have a range of sizes and types at your disposal. Look for sets that include both twist drill bits and specialty bits for specific drilling tasks.
Drill press clamps
Drill press clamps are practical for securing odd-shaped workpieces or materials that are difficult to hold with a vise. Choose clamps with a sturdy construction and adjustable features to accommodate different workpiece sizes.
Drill press fence
A drill press fence provides a reference surface for guiding the workpiece and maintaining consistent hole placement. Look for an adjustable fence with built-in measuring scales and a sturdy construction.
Drilling Techniques With A Drill Press
A drill press is an incredible tool that opens up a world of possibilities for DIY enthusiasts and professionals alike. By mastering the various drilling techniques, following safety precautions, troubleshooting common issues, enhancing accuracy, and exploring alternative uses, you can unlock the full potential of your drill press. Remember to always prioritize safety, maintain your drill press regularly, and use the appropriate accessories to maximize your productivity and achieve exceptional results in your woodworking, metalworking, or other projects. Happy drilling!