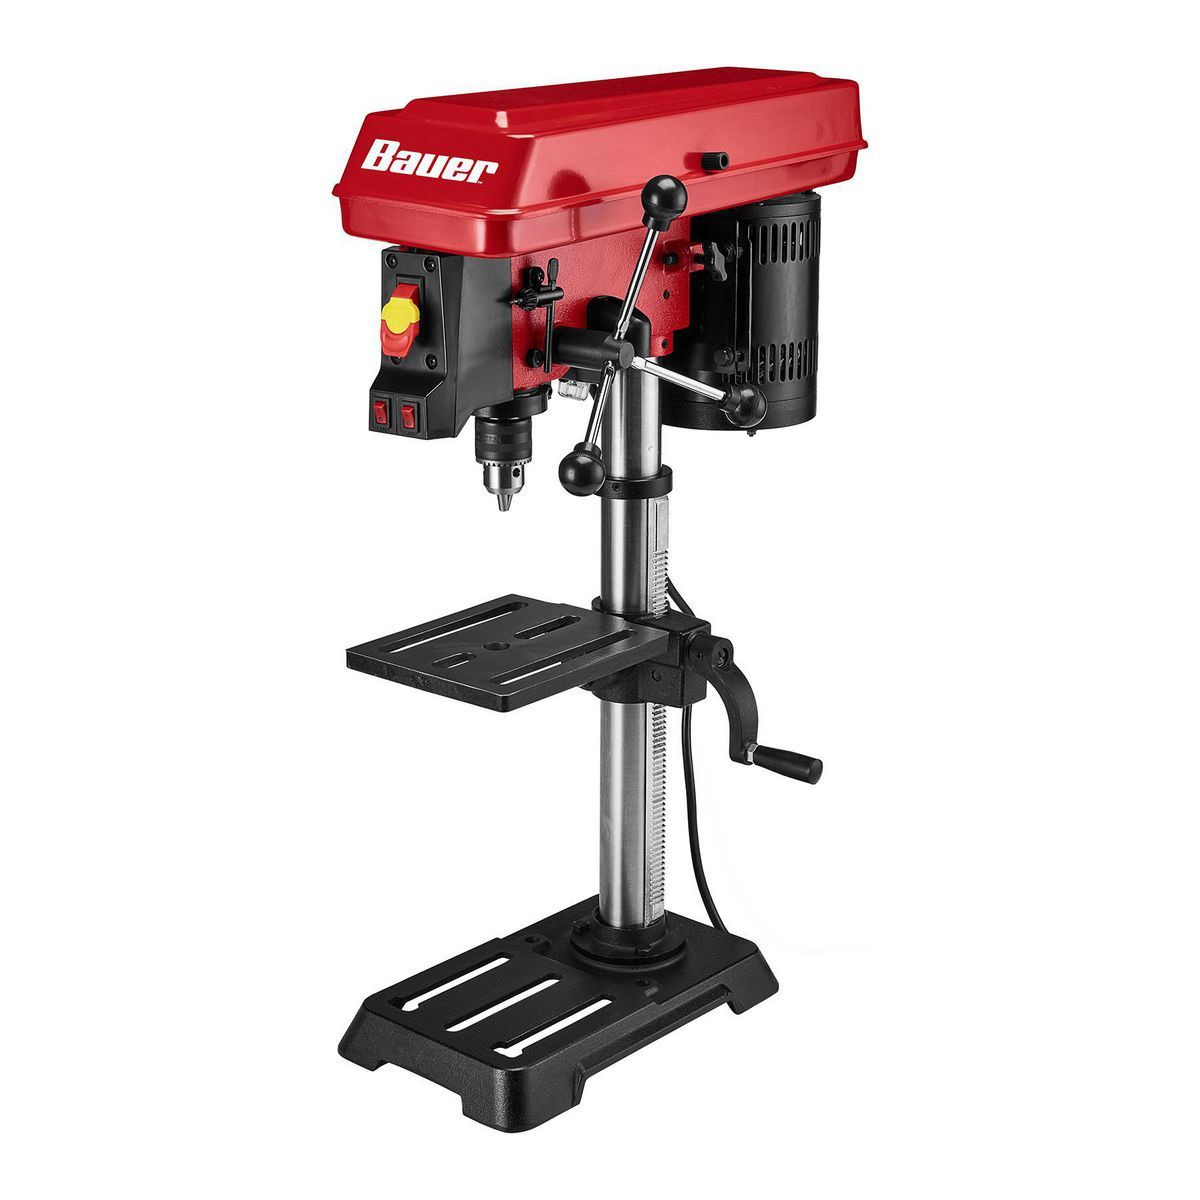
Do you have a drill press that’s been giving you trouble lately? Is the spindle not working as smoothly as it used to? Well, fret not, my friend! In this article, we will guide you through the process of inspecting and repairing your drill press spindle. Whether you’re a seasoned DIY enthusiast or just starting out, this blog is here to provide you with useful tips and techniques to keep your drill press in tip-top shape. So grab your tools, put on your safety goggles, and let’s dive into the world of drill press spindle inspection and repair!
1. Importance of Spindle Inspection
1.1 Checking for wear and damage
The spindle is one of the most crucial components of a drill press, responsible for holding and rotating the drill bit. Over time, due to regular use and exposure to various elements, the spindle can undergo wear and damage. It is essential to inspect the spindle regularly to ensure its proper functioning.
Checking for wear and damage on the spindle is crucial because any issues can significantly impact the performance of the drill press. Excessive wear may lead to reduced accuracy, increased vibration, and even failure of the spindle. By inspecting for signs of wear, such as grooves or scratches, you can address the problem before it becomes severe and affects your drilling projects.
1.2 Ensuring optimal performance
Regular spindle inspection plays a vital role in maintaining optimal performance of the drill press. By identifying any issues with the spindle early on, you can take the necessary steps to repair or replace damaged components, ensuring that the drill press operates at its best.
A well-maintained spindle enables smooth rotation, minimizing vibration and promoting accuracy during drilling. It also ensures that the drill bit remains securely in place, reducing the risk of accidents or injuries while operating the drill press. By prioritizing spindle inspection, you can avoid unexpected breakdowns and prolong the lifespan of your drill press.
2. Tools Required for Spindle Inspection and Repair
2.1 Measuring tools
To inspect and assess the condition of the spindle, you will need measuring tools such as calipers or micrometers. These tools allow you to measure the diameter of the spindle accurately, detecting any changes in size that could indicate wear or damage.
2.2 Cleaning equipment
Cleaning the spindle thoroughly is an essential step in the inspection process. You will need cleaning equipment such as brushes, rags, and solvents to remove dirt, debris, and old lubricants from the spindle’s surface and bearings.
2.3 Lubricants and adhesives
Proper lubrication is crucial for the smooth operation of the spindle. You will need suitable lubricants and adhesives to ensure that the spindle and its components function optimally. It is essential to choose lubricants specifically designed for drill press spindles to prevent damage and promote longevity.
3. Preparing the Drill Press for Spindle Inspection and Repair
3.1 Safety precautions
Before starting any inspection or repair work, it is vital to prioritize safety. Ensure that the drill press is unplugged and that the power supply is disconnected to avoid any accidental activation of the machine during the process. Wearing appropriate personal protective equipment, such as safety glasses and gloves, is also essential to prevent injuries.
3.2 Disconnecting power supply
To safely inspect and repair the spindle, disconnect the drill press from its power supply. This step eliminates any risk of accidental startup or operation during the inspection process, ensuring your safety and preventing damage to the spindle.
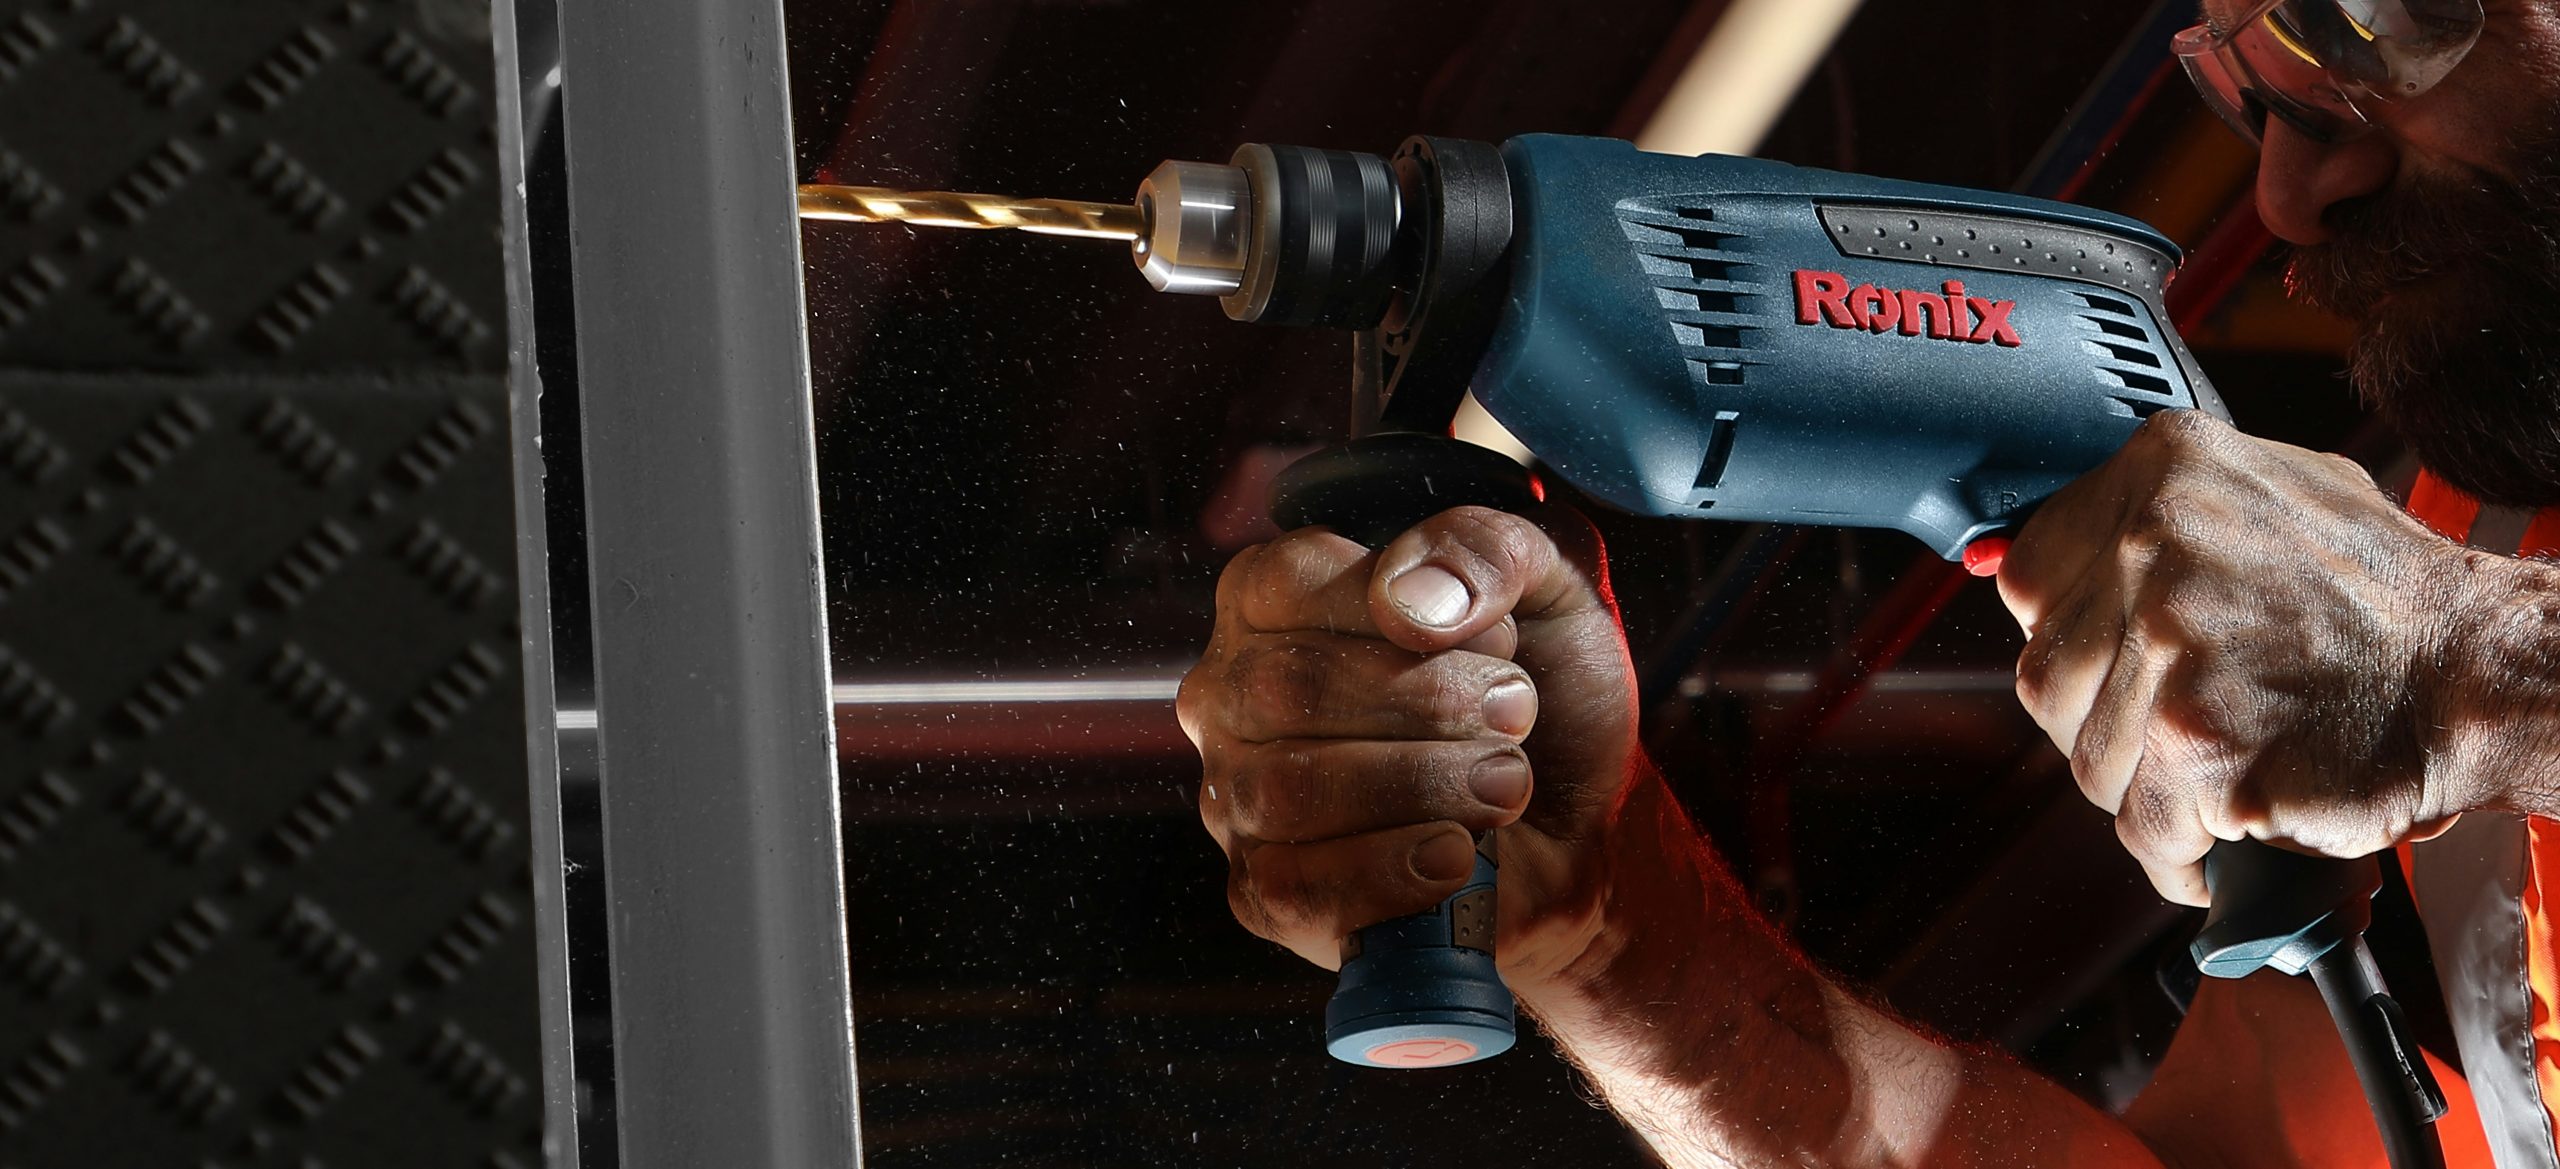
3.3 Removing the chuck
To access the spindle for inspection, you will need to remove the chuck from the drill press. Follow the manufacturer’s instructions provided with your drill press to properly remove the chuck. This step is crucial as it allows you to inspect the spindle thoroughly and perform any necessary repairs or maintenance.
4. Spindle Inspection Process
4.1 Cleaning the spindle
Once the chuck is removed, it is important to clean the spindle thoroughly. Use a brush or rag to remove any dirt, debris, or old lubricants from the spindle’s surface. Pay close attention to the bearing areas to ensure they are free from any contaminants that could affect the spindle’s operation.
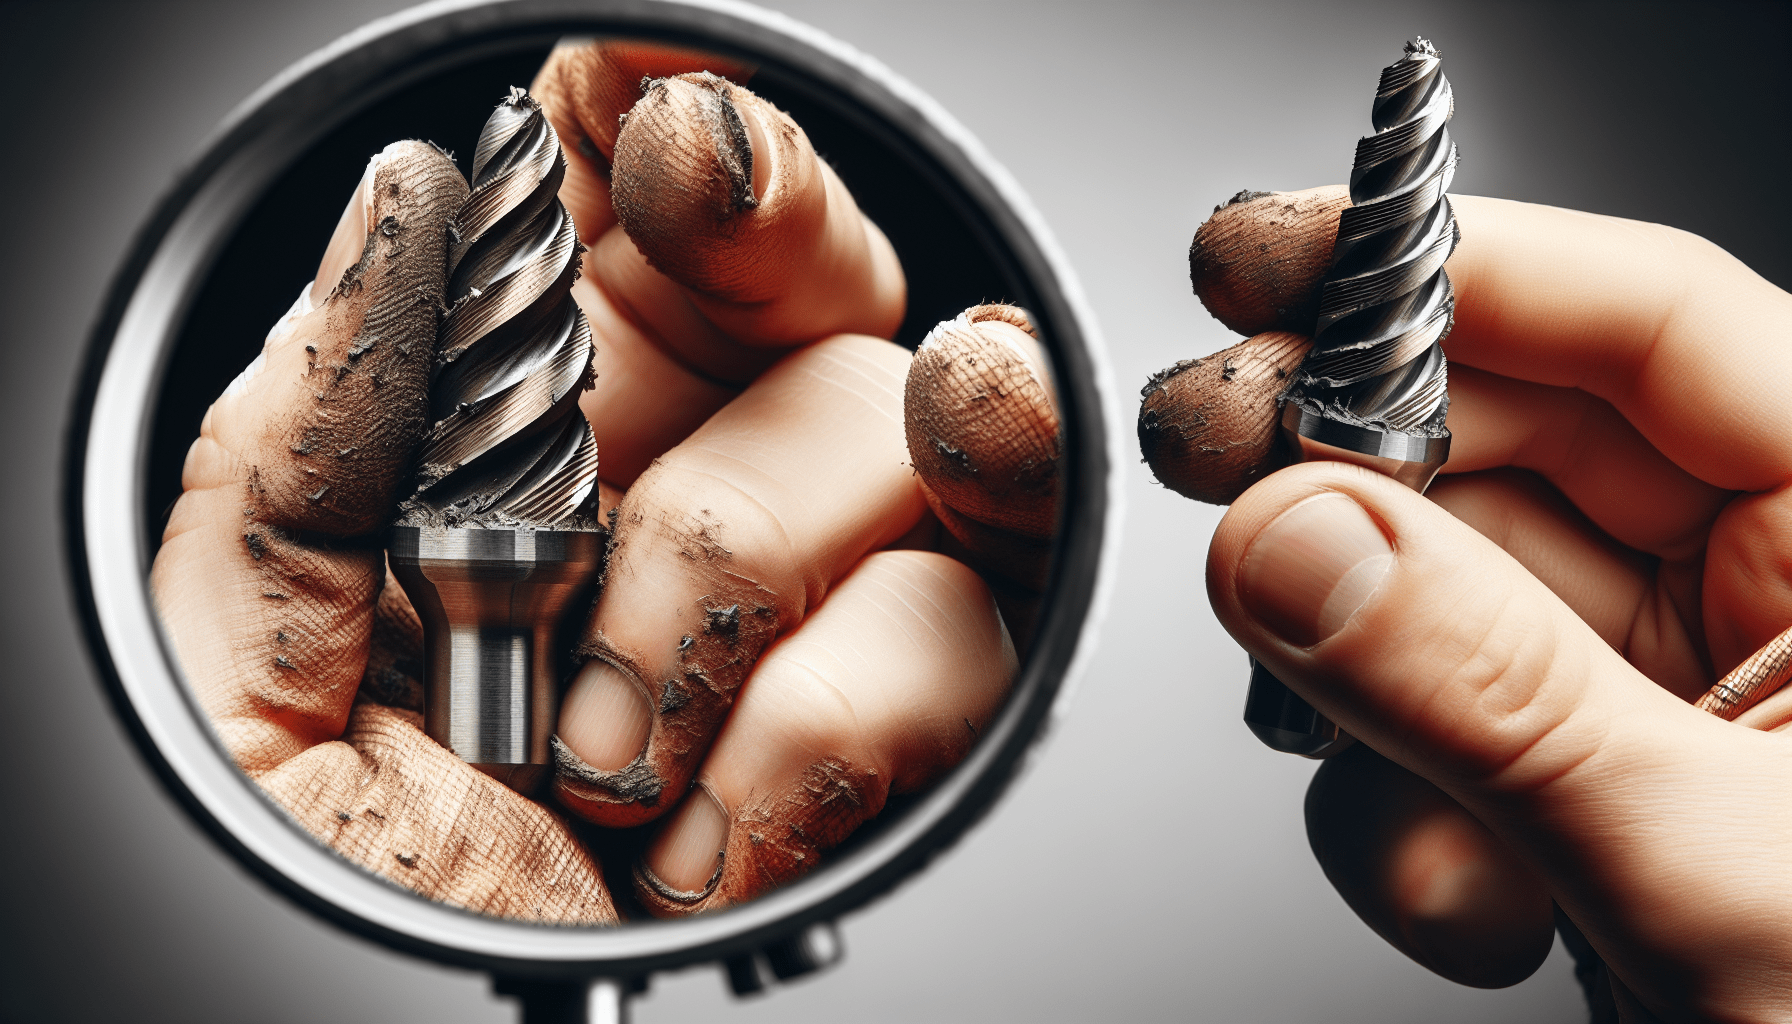
4.2 Checking for cracks and damages
Inspect the spindle carefully for any cracks or damages. Look for any visible signs of wear, such as grooves, scratches, or dents. These can be indicators of underlying issues that may affect the functionality of the spindle. If you notice any cracks or significant damages, it is essential to address these concerns promptly through appropriate repair techniques.
4.3 Measuring spindle runout
Using a measuring tool such as a dial indicator, measure the spindle’s runout. Runout refers to the amount of deviation in the spindle’s rotation from its true axis. Excessive runout can lead to inaccurate drilling and poor performance. By measuring the runout, you can identify any misalignment or other issues that may require correction.
4.4 Evaluating bearing condition
The bearings play a crucial role in the smooth operation of the spindle. Carefully inspect the bearings for any signs of wear, such as excessive play or rough movement. If you notice any issues with the bearings, such as noise or resistance during rotation, they may need to be replaced or repaired to ensure optimal performance.
5. Spindle Repair Techniques
5.1 Replacing worn-out bearings
If the inspection reveals worn-out or damaged bearings, it is important to replace them promptly. Follow the manufacturer’s instructions to remove the old bearings and install new ones correctly. Ensure that the new bearings are of the same specifications as the original ones to maintain the proper functioning of the spindle.
5.2 Repairing minor spindle damages
In some cases, minor damages such as scratches can be repaired to restore the spindle’s functionality. Depending on the extent of the damage, you may need to use appropriate techniques such as filing or sanding to remove the imperfections. Take caution to avoid removing excessive material and compromising the spindle’s integrity.
5.3 Realigning the spindle
If the spindle’s runout measurement indicates misalignment, realigning the spindle may be necessary. This process requires precision and expertise. It is best to consult the manufacturer’s guidelines or seek professional assistance to ensure proper realignment and restore the spindle’s optimal performance.
6. Lubrication and Maintenance
6.1 Applying suitable lubricants
After cleaning and inspecting the spindle, it is crucial to apply suitable lubricants to ensure smooth operation. Consult the manufacturer’s recommendations for the specific type and amount of lubricant required for your particular drill press model. Apply lubricant to all necessary areas, including the bearings, to prevent friction, reduce wear, and prolong the spindle’s lifespan.
6.2 Regular cleaning and maintenance
To maintain the spindle’s performance, establish a regular cleaning and maintenance routine. Clean the spindle and its components regularly, ensuring the removal of any dirt or debris that may accumulate over time. Regularly inspect for wear and damage, and address any issues promptly. By incorporating these maintenance practices, you can optimize the lifespan and performance of your drill press spindle.
7. Reassembling and Testing
7.1 Proper reassembly of components
After completing the necessary inspection, repairs, and maintenance, it is crucial to reassemble the components correctly. Follow the manufacturer’s guidelines to ensure proper alignment and attachment of the chuck and other parts. Carefully tighten the required fasteners, ensuring that everything is securely in place.
7.2 Testing spindle performance
Once the drill press is reassembled, it is important to test the spindle’s performance before resuming regular usage. Plug in the power supply, turn on the drill press, and observe the spindle’s rotation. Listen for any abnormal noises or vibrations that may indicate underlying issues. Perform some test drilling to assess the accuracy and smoothness of the spindle’s operation. If you notice any concerns during the testing process, address them promptly through further inspection or repairs.
8. Common Spindle Issues and Troubleshooting
8.1 Excessive noise or vibration
If you experience excessive noise or vibration during drilling, it may indicate an issue with the spindle. Check for any loose components or misalignment, and tighten or realign as necessary. Additionally, inspect the bearings for damage and replace them if needed. If the problem persists, consult a professional or the drill press manufacturer for further troubleshooting.
8.2 Unsmooth rotation
If the spindle’s rotation feels rough or uneven, it could be due to issues such as misalignment or worn-out bearings. Examine the spindle for misalignment and realign if necessary. Inspect the bearings for wear or damage and replace them if needed. Lubrication may also play a role in smooth rotation, so ensure the spindle is adequately lubricated.
8.3 Chuck slipping
If the chuck slips during drilling, it may indicate a problem with the spindle or chuck mechanism. Check for any signs of wear or damage on the spindle and the chuck. Tighten any loose components and ensure that the chuck is securely attached to the spindle. If the issue persists, consult a professional for further troubleshooting and repair options.
9. Preventive Measures
9.1 Regular inspection and maintenance schedule
To avoid major spindle issues, it is recommended to establish a regular inspection and maintenance schedule. By inspecting the spindle and performing routine maintenance tasks such as cleaning, lubricating, and tightening components, you can proactively identify and address any potential issues before they escalate. Regular maintenance can extend the lifespan of the spindle and improve overall drill press performance.
9.2 Proper tool usage
Using the appropriate tools and accessories for your drill press is essential for spindle longevity. Using incorrect drill bits or applying excessive force can lead to unnecessary wear and damage to the spindle. Follow the manufacturer’s recommendations for compatible drill bits and instructions for proper tool usage. By using the right tools and techniques, you can minimize the risk of spindle issues and enhance the efficiency of your drilling projects.
10. Conclusion
Inspecting and maintaining the spindle of your drill press is a crucial aspect of ensuring optimal performance and longevity. By following the outlined process of spindle inspection and implementing the appropriate repair techniques when necessary, you can identify and address spindle issues promptly. Regular lubrication, cleaning, and maintenance, along with adherence to safety precautions, help in preventing major spindle problems. By prioritizing spindle inspection and maintenance, you can enhance the efficiency and accuracy of your drill press, allowing you to tackle any DIY project with confidence.